In this lab, we will install Active Directory role on Windows Server Data Center 2019 server. We will start with the basics, like installing the OS first then will continue to configure initial steps like setting IP address, disabling firewall and other things. This lab consists of 27 screenshots with explanations so follow all the steps for active directory initial installation. In another lab, we will create Organizational Units, Groups, Computers and Users etc. Also in next labs, we will use Group Policy Management (GPOs) to implement some central policies from DC to our end user according to our planning and company policies-standards.
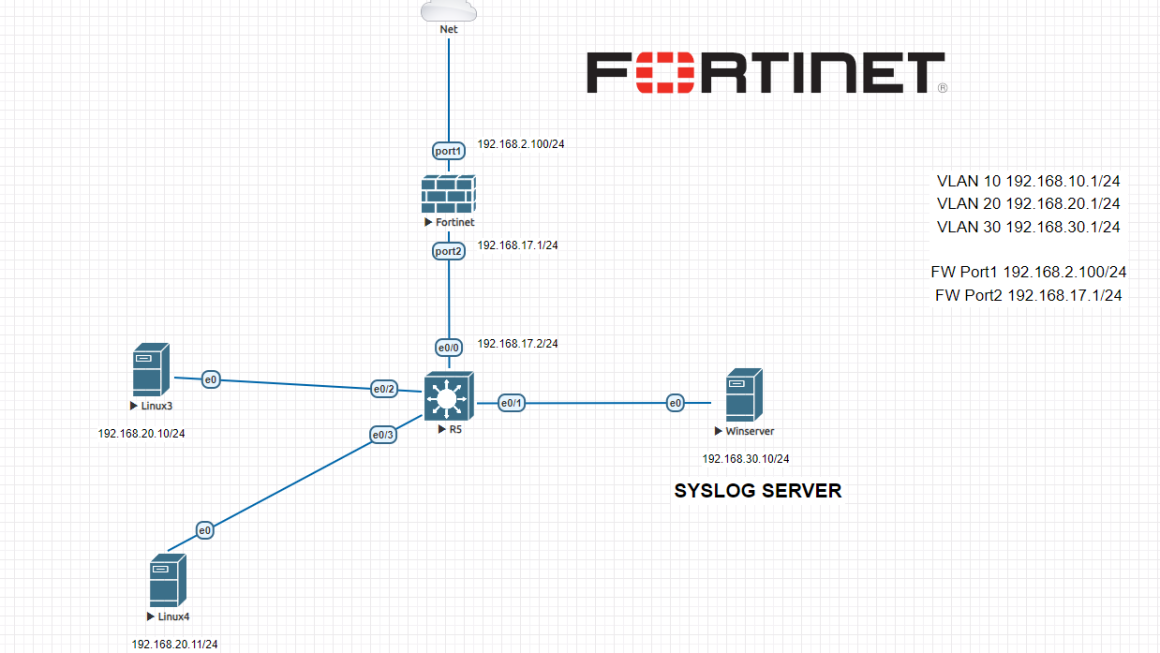
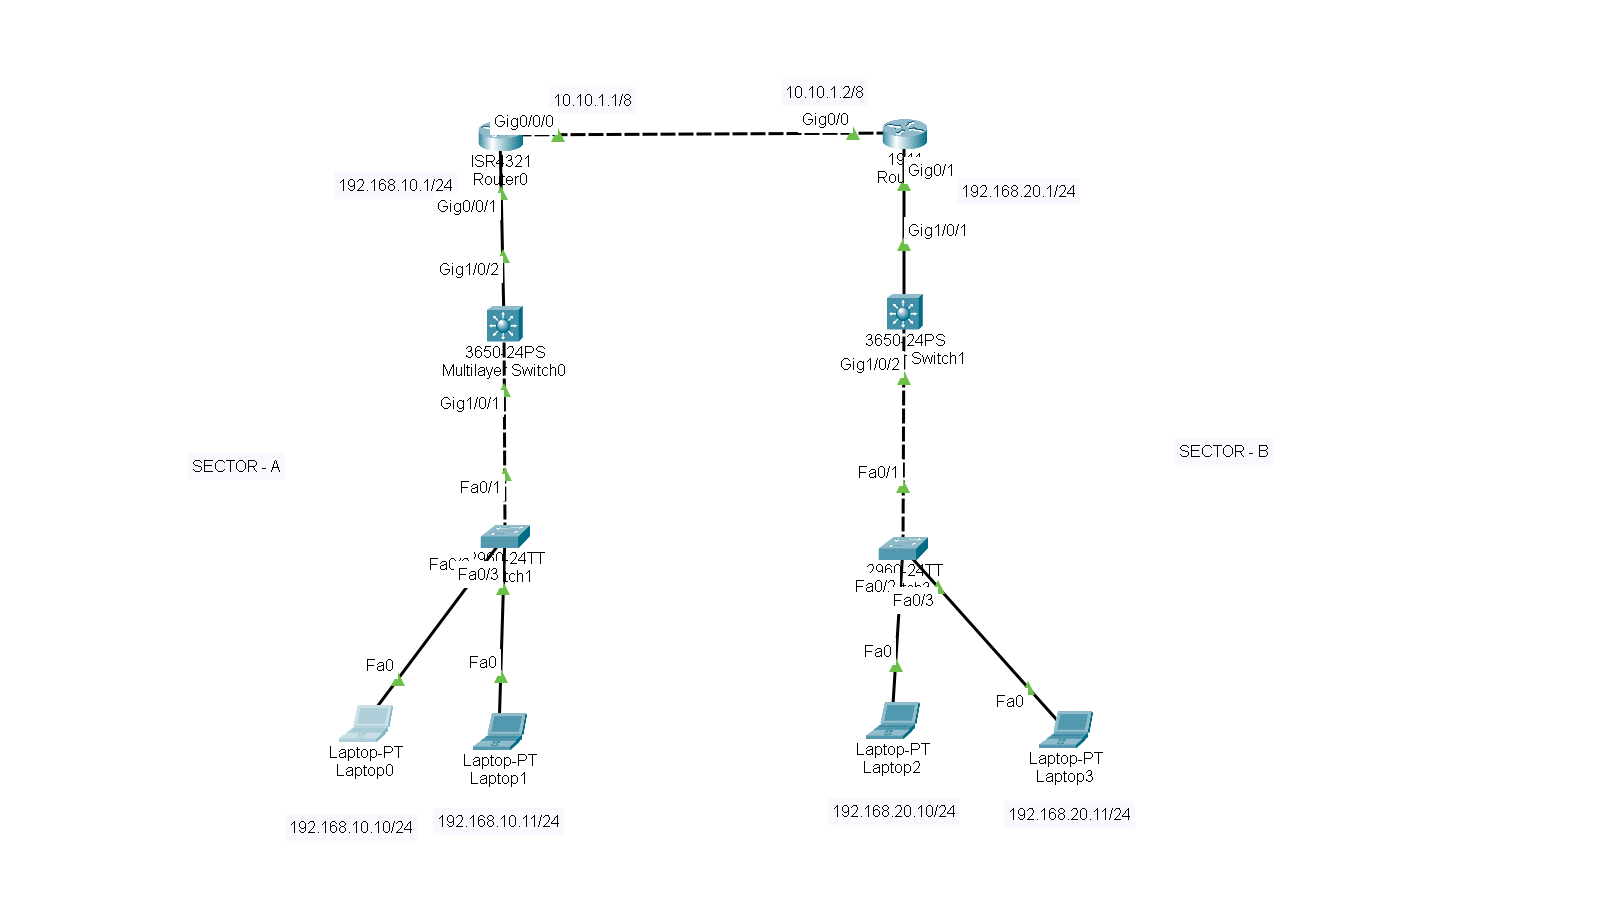
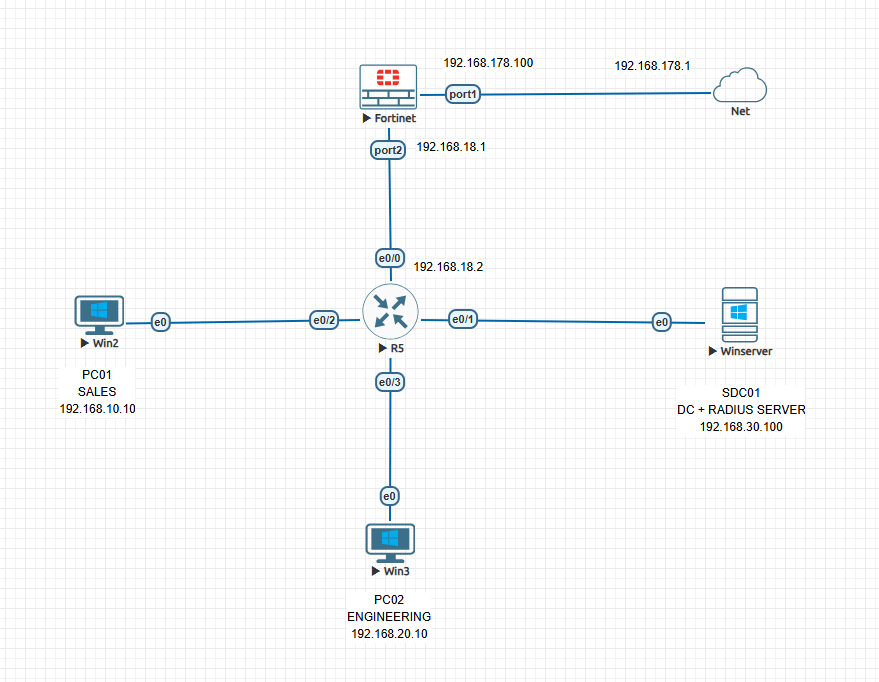
This is our topology, we use 3 VLANs, and our DC is on vlan 30 and all devices can communicate within the network using Cisco L3 switch.
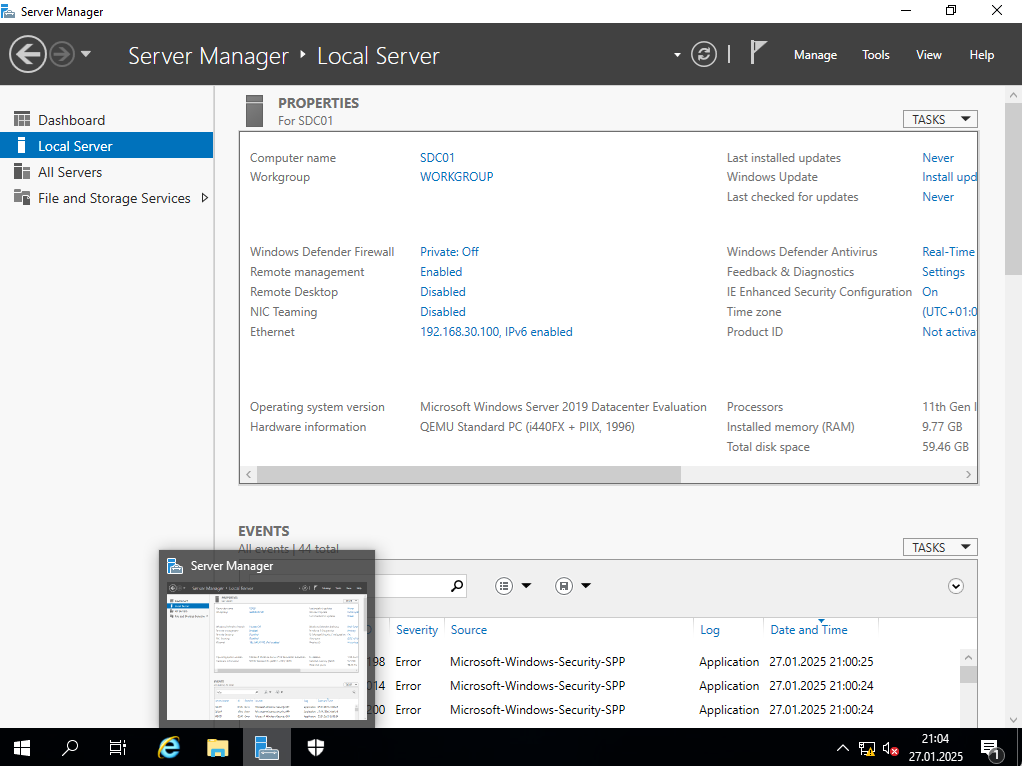
Step-1 After OS installation set a manual IP address and change the hostname as required to your naming standards.
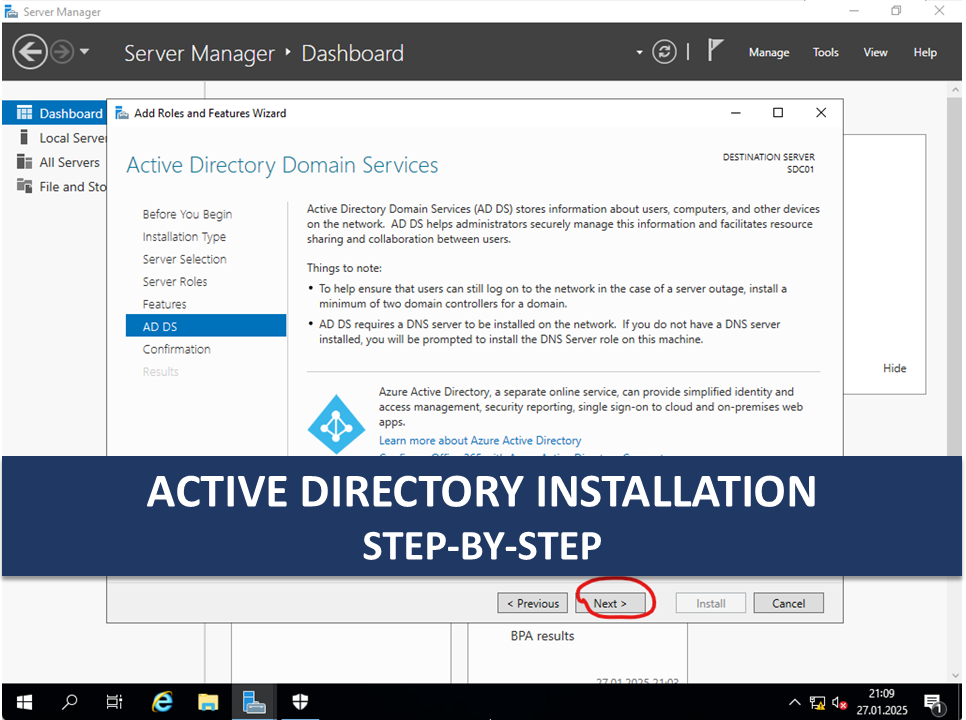
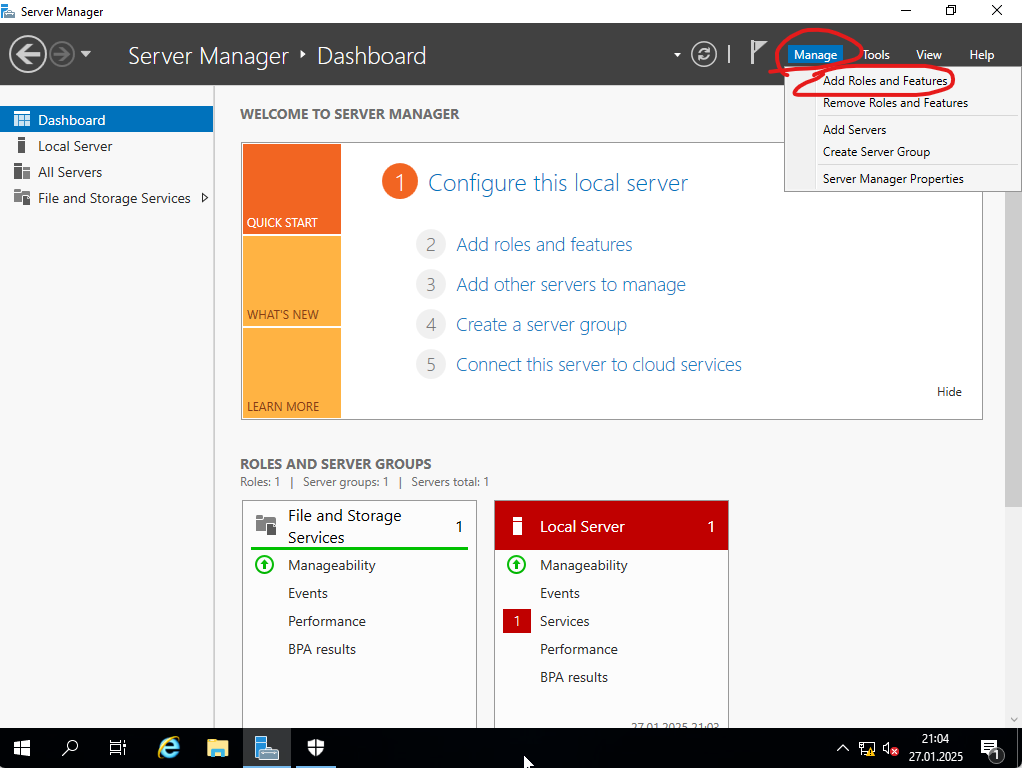
Step-2 Click on Manage on top right on Server Manager then click on Add Roles and Features to see the Roles and Feature menu
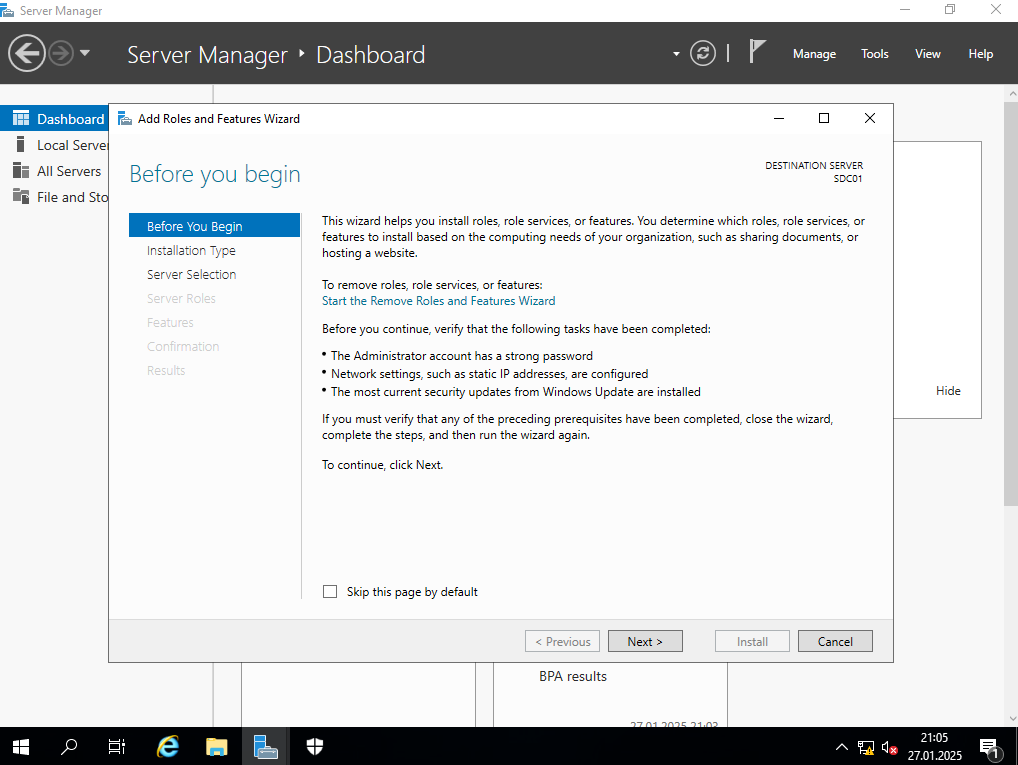
Step-3 After reading initial reminders click on Next to continue
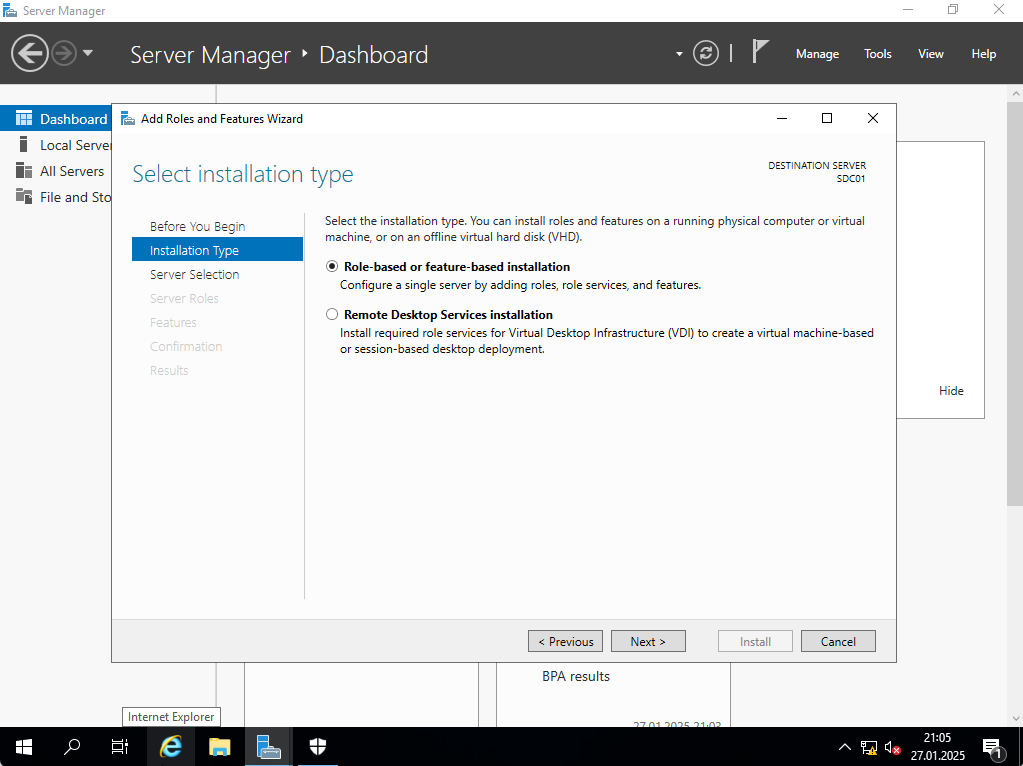
Step-4 Choose Role-based or feature-based installation and click Next
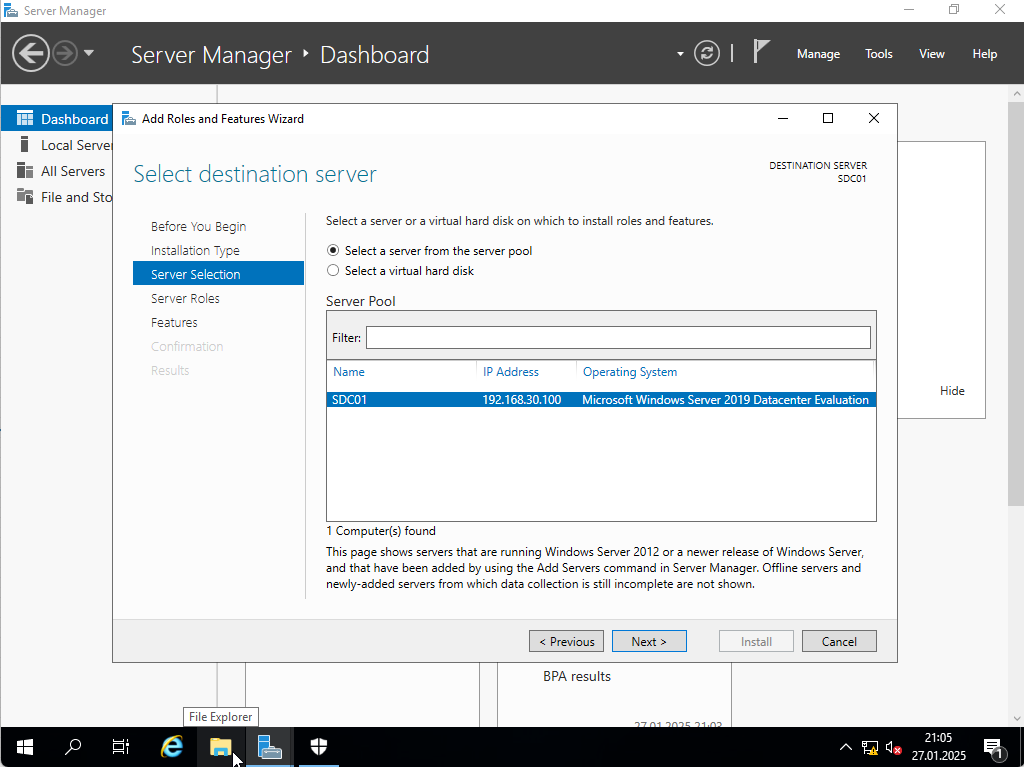
Step-5 You will see your server information there, leave it as it is and click Next
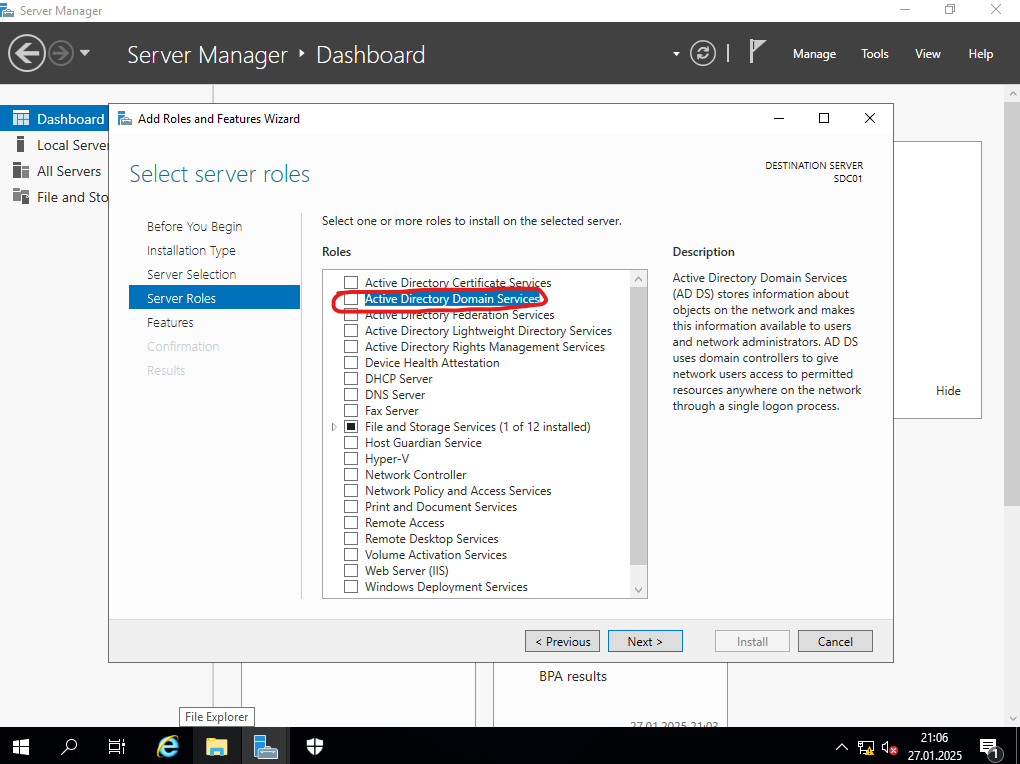
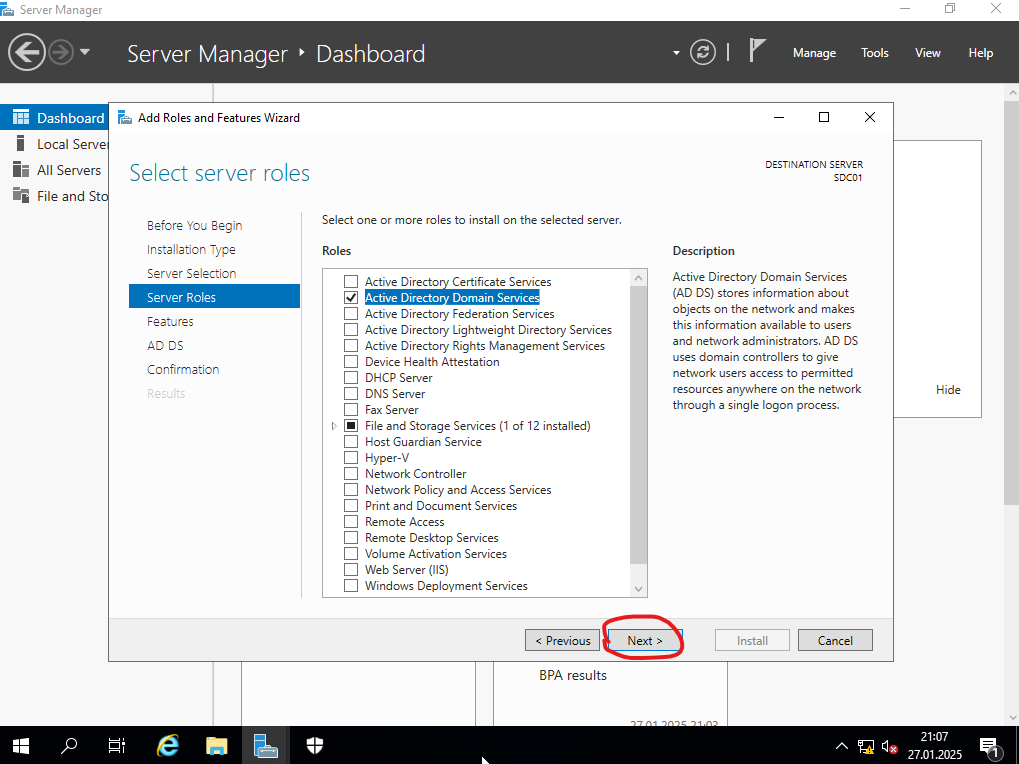
Step-6 Choose Active Directory Domain Services and click on Next
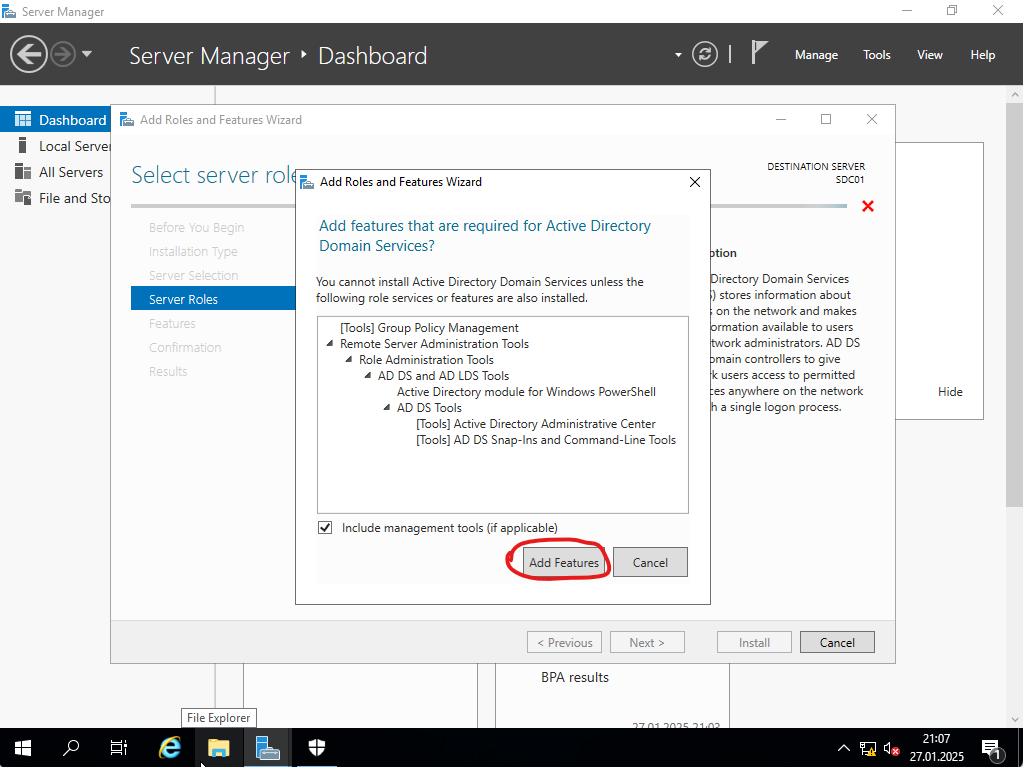
Step-7 Everything is set automatically, all the necessary features related to AD role is already selected by Windows. Click on Add Feature
Step-8 Then on the next screen click on Next again to proceed.
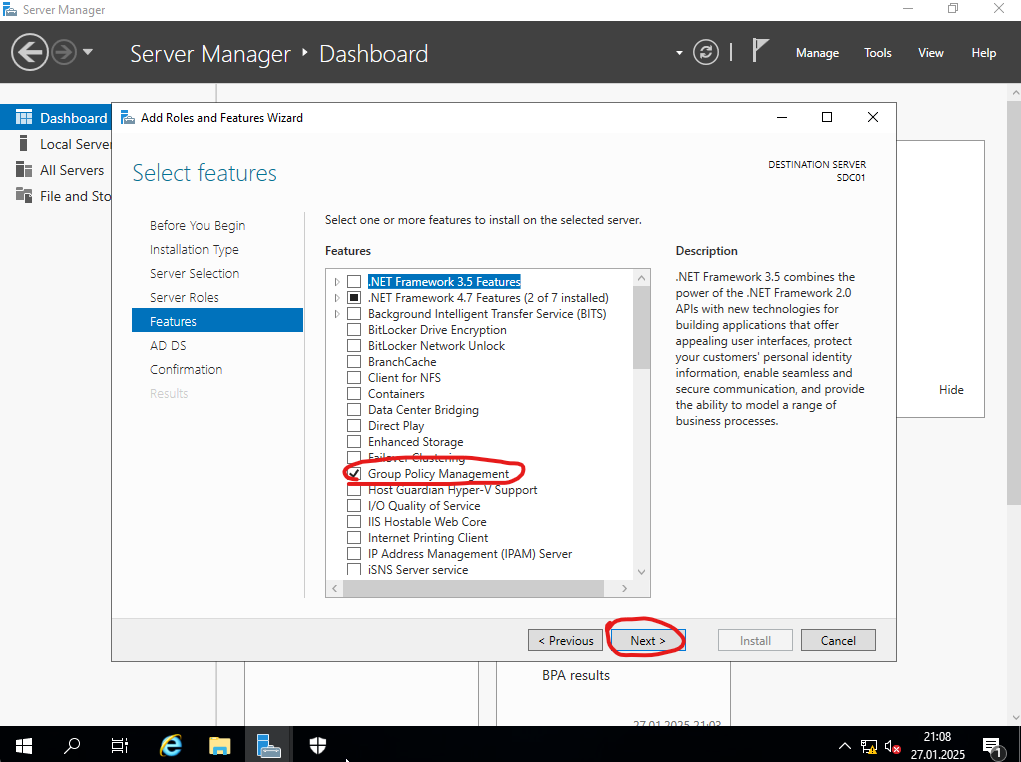
Step-9 Make sure that Group Policy Management feature is chosen and click on Next
Step-10 Click on next to proceed

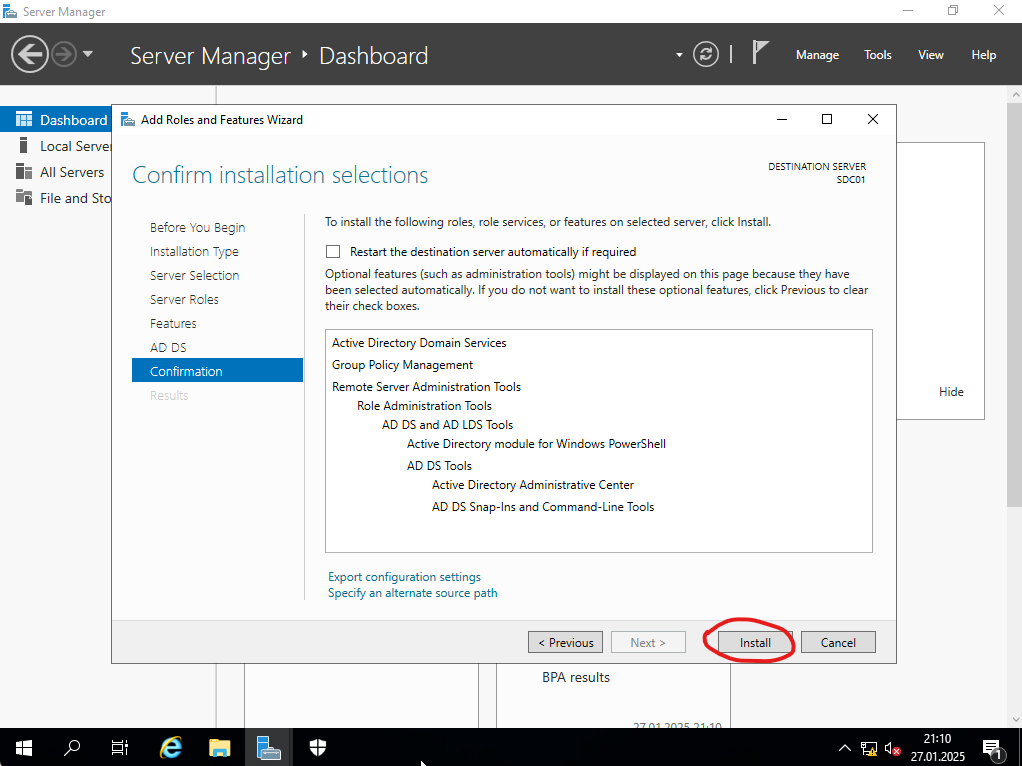
Step-11 Everything is set, click on Install to start AD installing process.
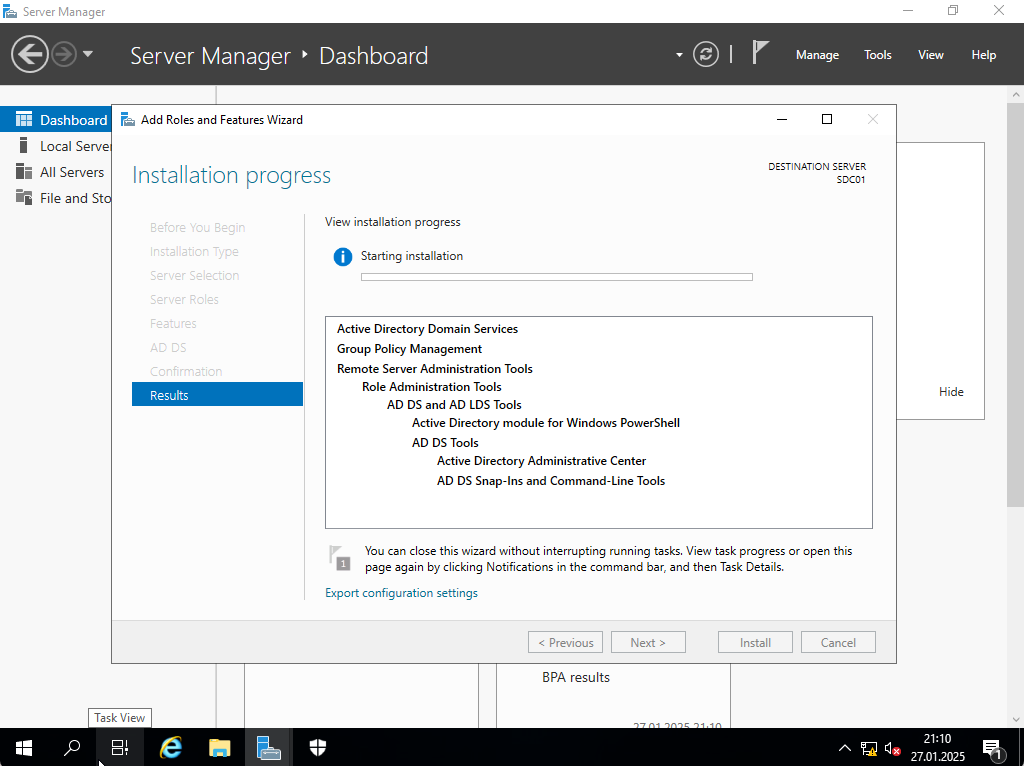
Step-12 It starts installing, you will see this screen
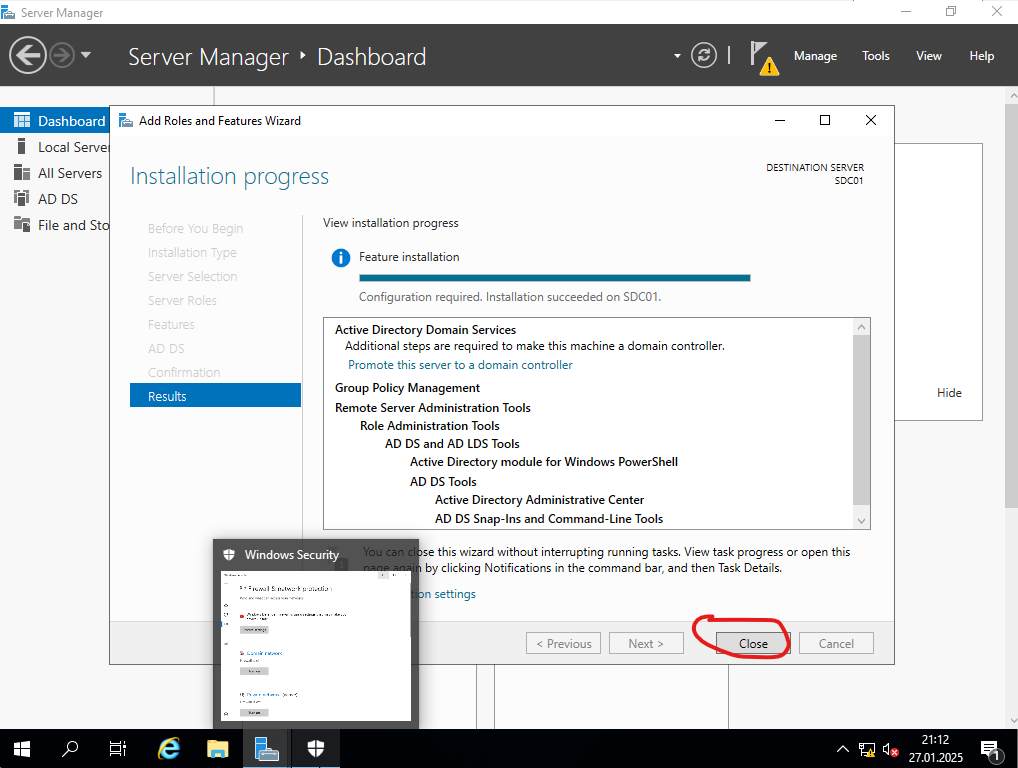
Step-13 Once it is done, click on Close. Next we will promote this server to a domain controller. It can be also done from here but we will do it from upper menu.
Step-14 Click on Yellow warning mark on the flag, then click on Promote this server to a domain controller link.

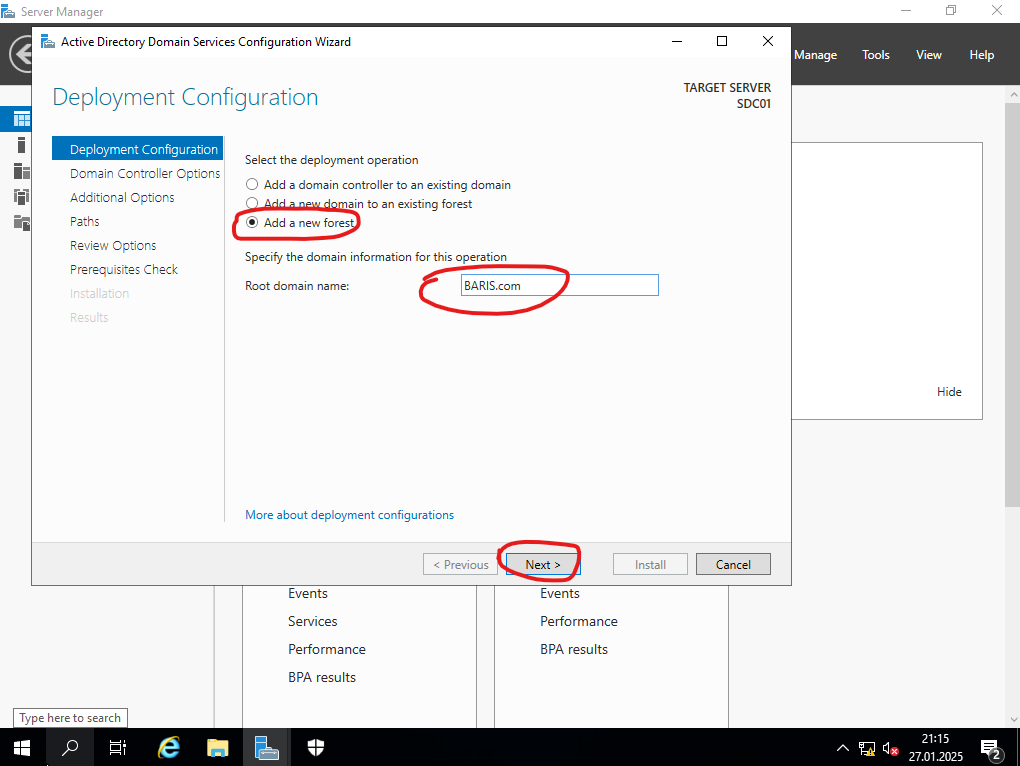
Step-15 We have 3 options here for deployment. As we are creating a new domain controller on this system, we proceed with “Add a new forest” selection. Then we will set a domain name. This part is important because from now on once you join a new device into domain they will be part of this domain name like Mycomputer.baris.com (FQDN, hostname). Depending on your requirement, you can choose EXAMPLE.local , BARIS.com , BARISYUKSEL.com etc. and we choose BARIS.com as an example.
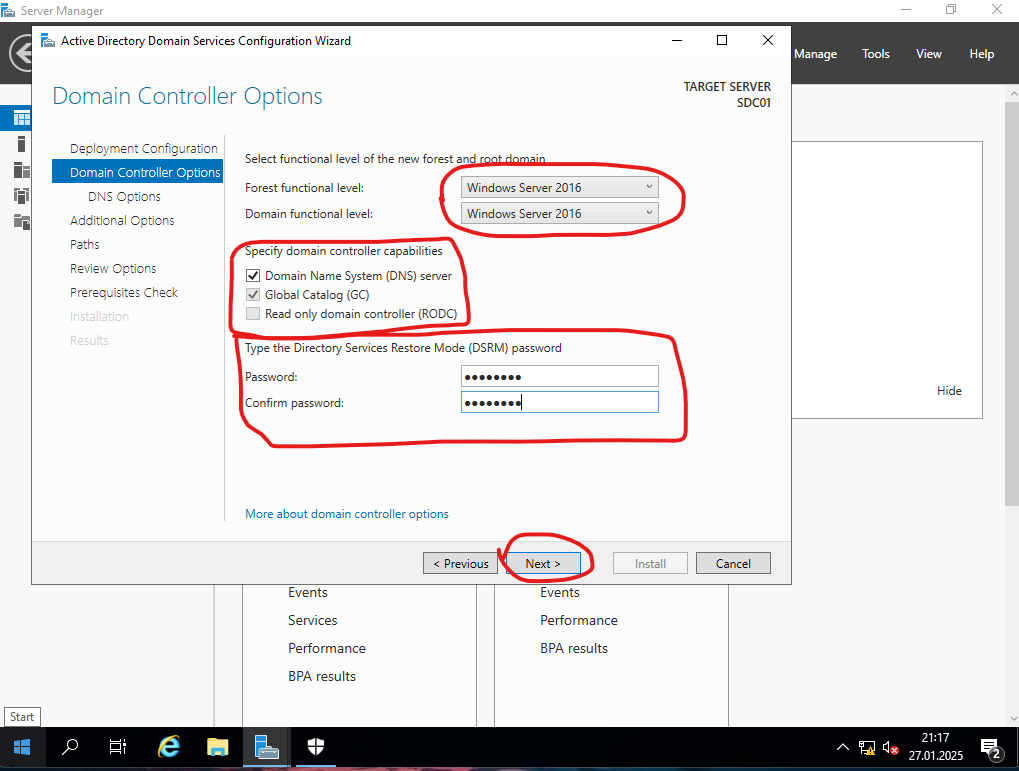
Step-16 Function level is defined automatically as closest version of server OS to our current one. We are not making any changes on function levels, you can change if it is required. Domain Name System (DNS) feature is also chosen, you can proceed with this settings or you can install it later as well. On this screen, Directory Services Restore Mode (DSRM) password is extremely important. DSRM password is used for some AD managerial processes like “restore”. So make sure that you choose a proper safe password and do not forget it 🙂 Then click on Next
Step-17 Click on next and ignore the warning as it is saying there is no DNS server found in environment.

Step-18 Click on next
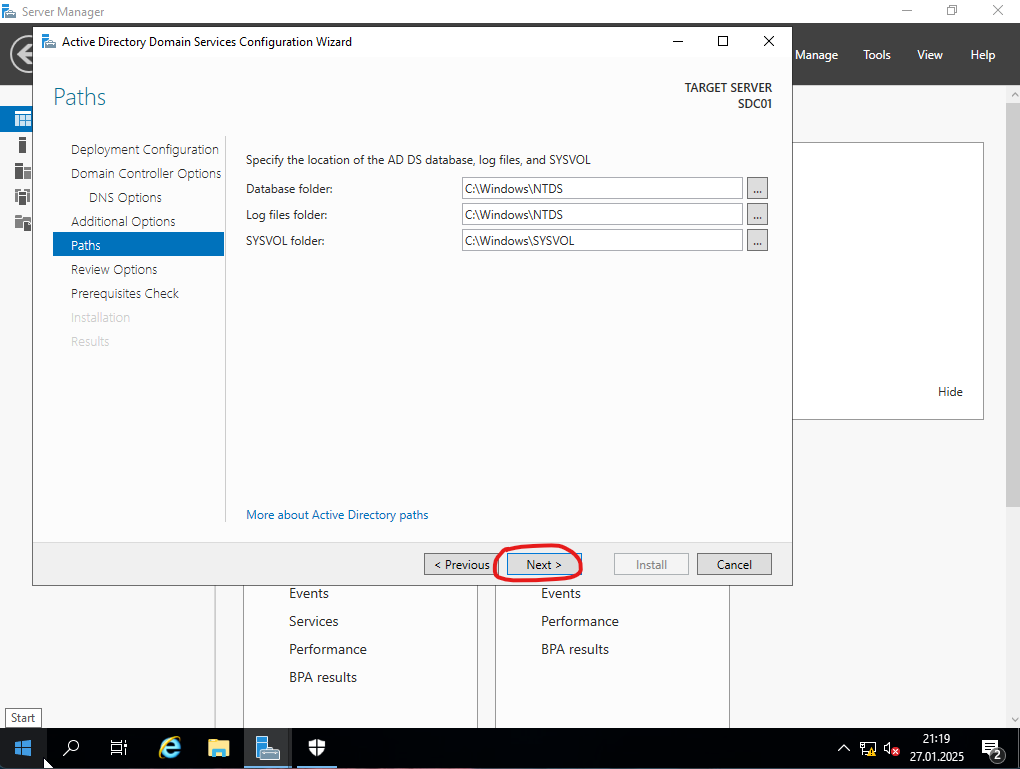
Step-19 On this screen, it shows the local folder paths where Database, Log files, SYSVOL files will be. Do not change it, leave it as it is. And click on Next.
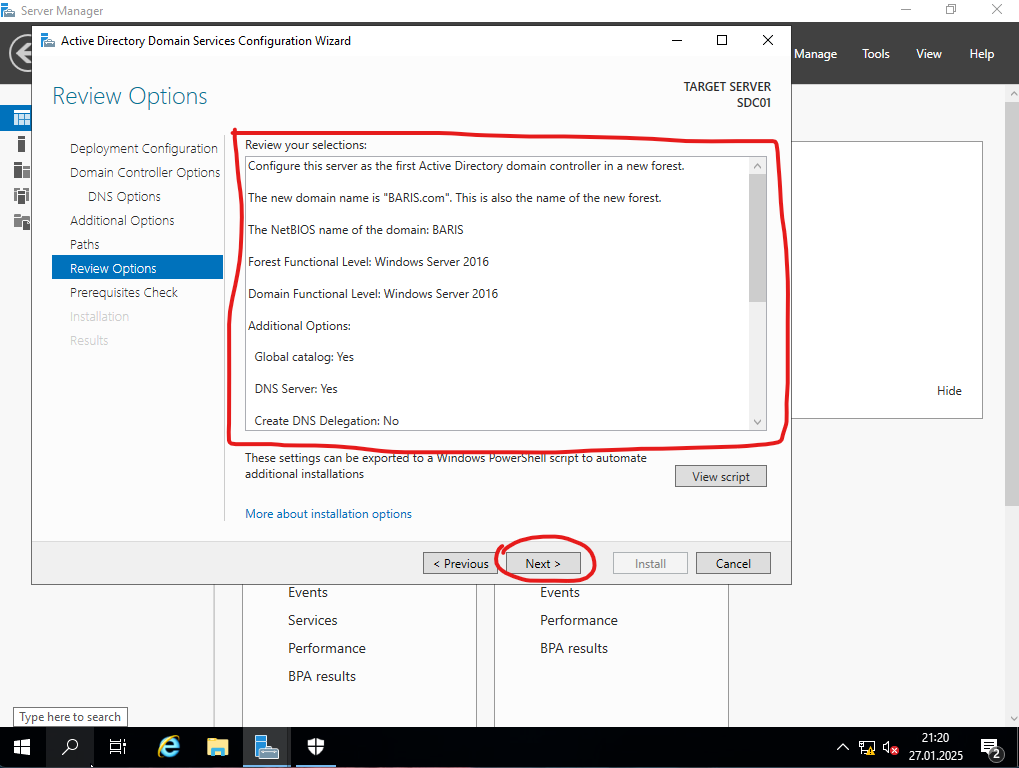
Step-20 This is the final review before you proceed. You will see the summary of your configuration. Check it once again. Then click Next.
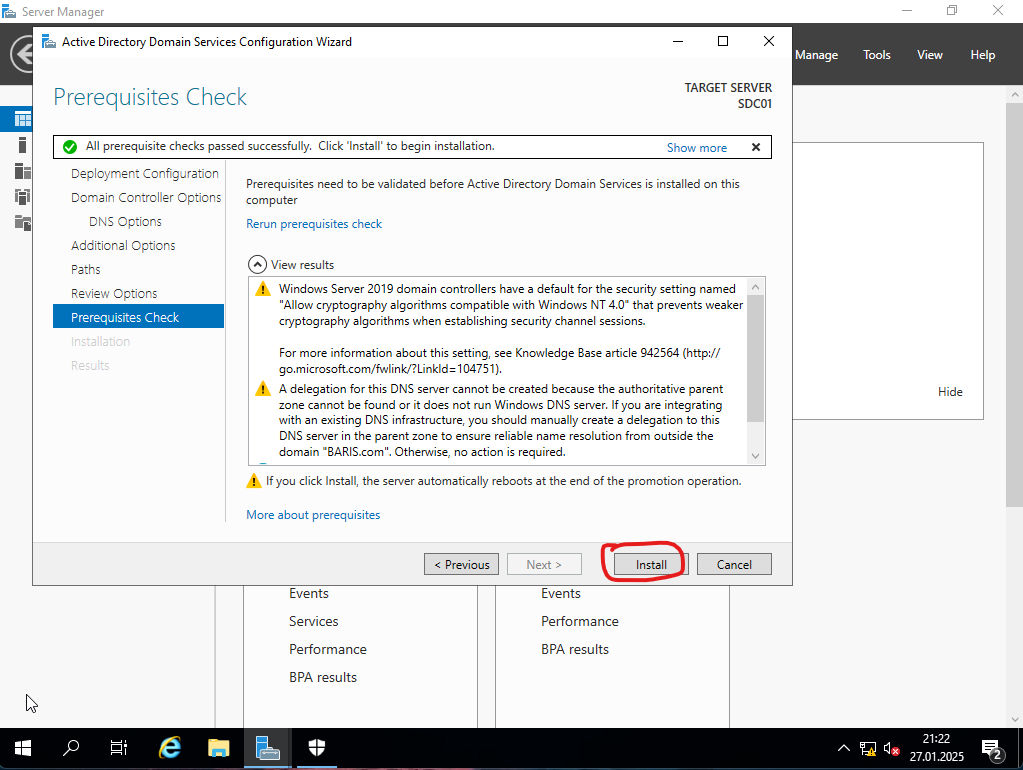
Step-21 At this step, a prerequisites check will be done and you will see this final report if everything is set as requested. You may get a warning if you did not follow the initial processes like setting an IP address to server etc. Click on Install to finalize.
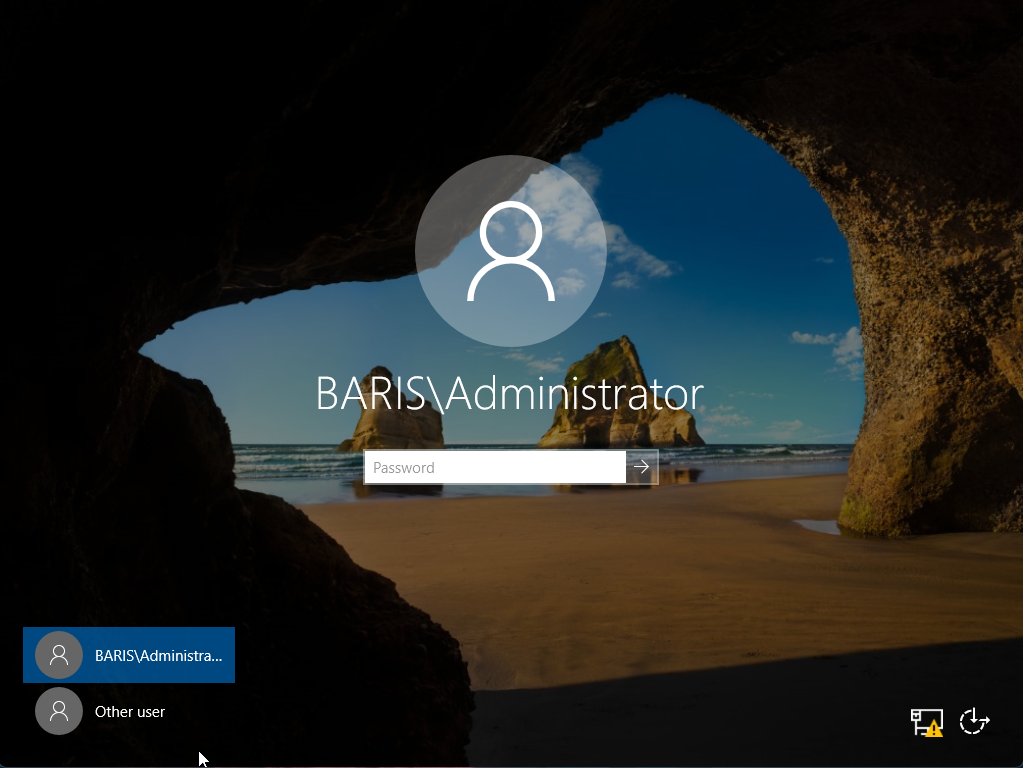
Step-22 After finishing installation, it will automatically LOG OUT and restart your server. After the restart you will see below login screen which means that your server is successfully promoted as a domain controller. Login with your admin account.
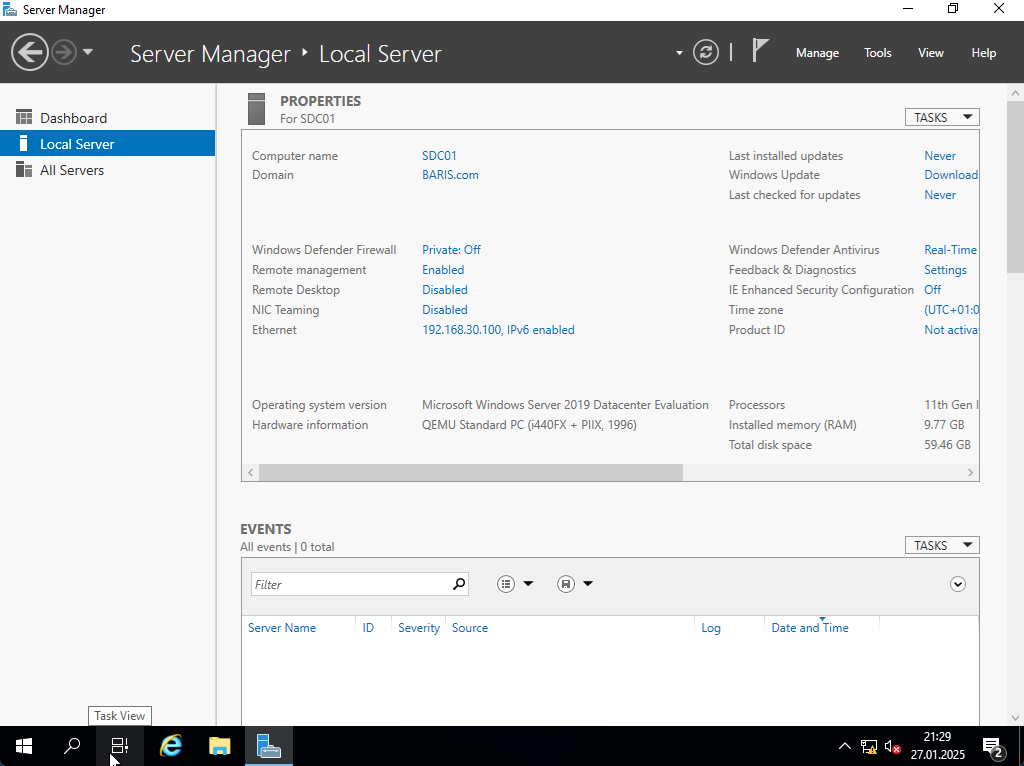
Step-23 As we check the server information, we can see that it is showing up the Domain. Congratulations, you installed your Active Directory properly.
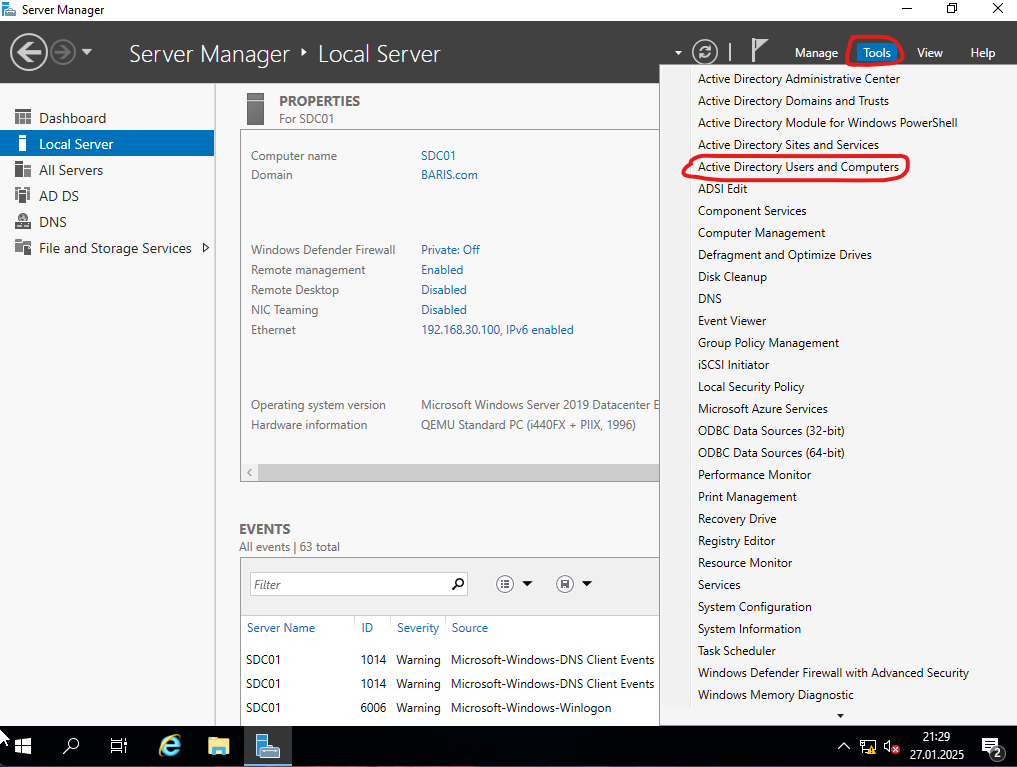
Step-24 To be able to see Active Directory Users and Computers, click on Tools on up right menu then choose AD users and computers.
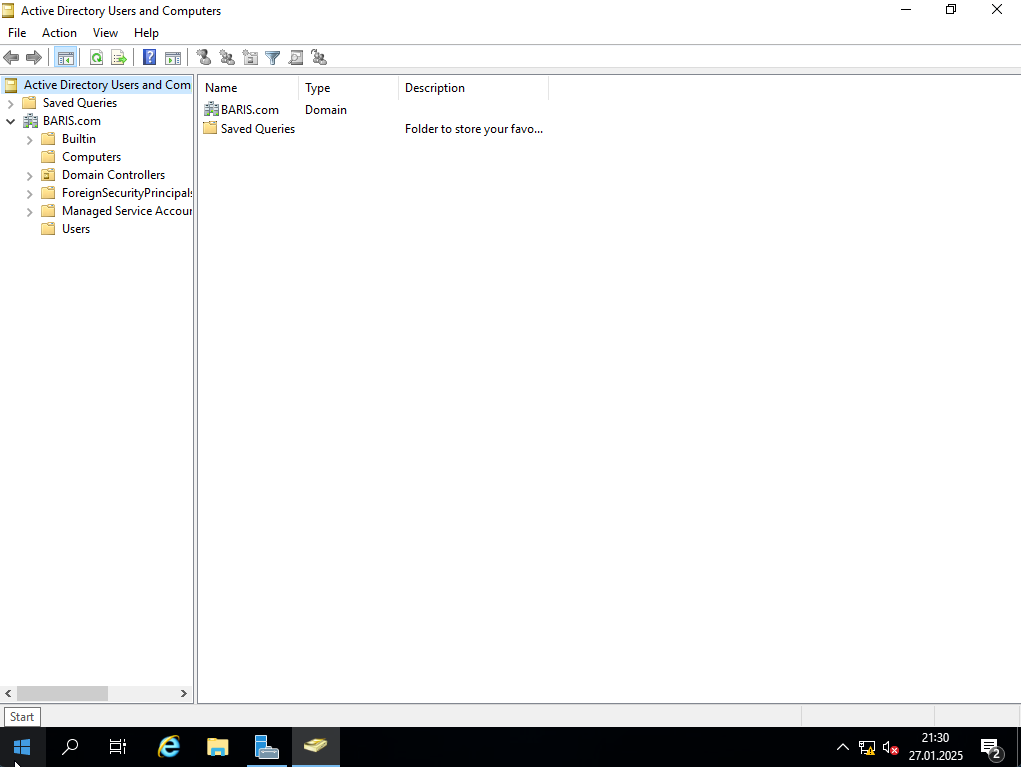
Step-25 So here it is, our freshly installed AD. In next labs, we will create users, computers, organizational units, groups and many other things to simulate some scenerios.
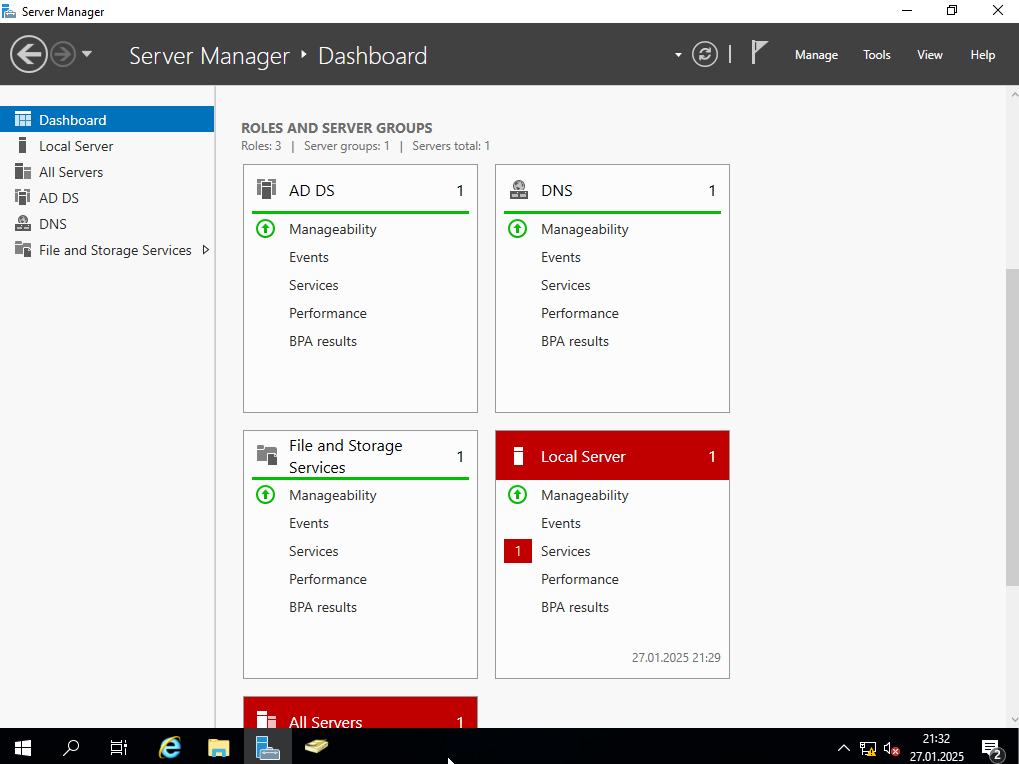
Step-26 Also on Server Manager, you can see the extra services and changes after Active Directory installation. As you remember we also created DNS service while installing Active Directory so you can see it among the services.
Kindly reminder, do not forget to change your DNS settings as you have an internal DNS service on this server. It should be set to 127.0.0.1 (localhost) automatically but check it once again to make sure that you are using your local DNS service.
Thank you very much for your interest, please feel free to contact me if you have any further questions regarding Active Directory installation and services, meet me in future labs 🙂
Happy networking 🙂