Disclaimer: These methods and techniques are purely for educational and informational purposes. All attacks were carried out in an offline isolated virtual environment. The use of these techniques in normal life is illegal and the responsibility lies strictly with the reader.
DO NOT USE THESE TECHNIQUES IN REAL LIFE !
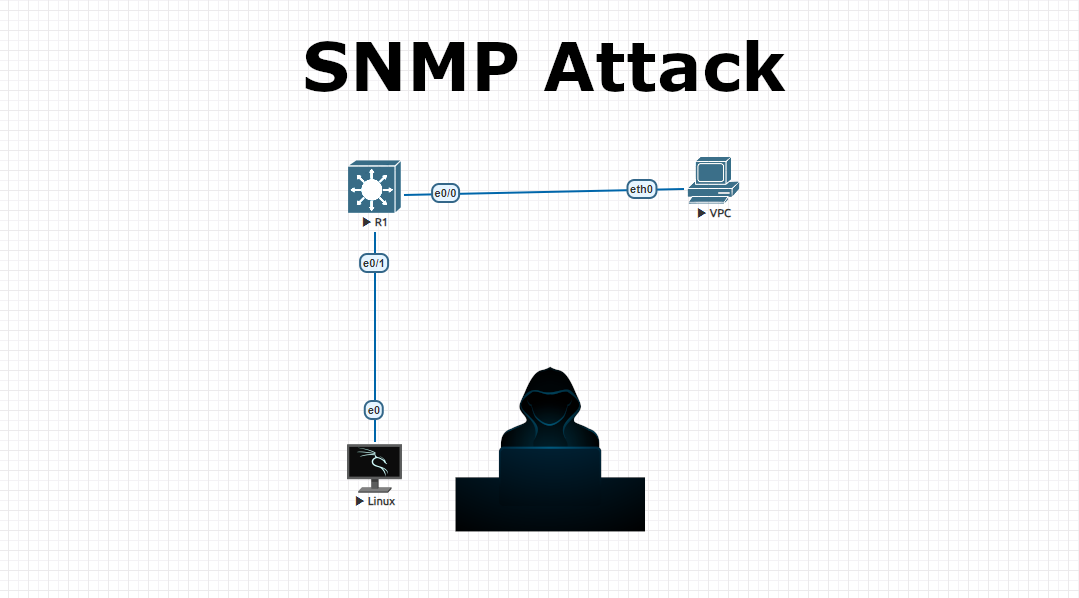
An SNMP (Simple Network Management Protocol) attack on a network switch involves exploiting vulnerabilities in the SNMP protocol to gain unauthorized access, manipulate device configurations, or disrupt network operations. SNMP is commonly used for network management, allowing administrators to monitor and manage network devices.
Here’s an overview of potential SNMP attack vectors and how they can be mitigated:
Common SNMP Attack Vectors
- SNMP Version 1 and 2c Weaknesses:
- SNMPv1 and SNMPv2c use community strings for authentication, which are sent in plaintext. If an attacker captures these strings, they can read or modify device configurations.
- Default community strings like “public” and “private” are often left unchanged, making it easier for attackers to gain access.
- Brute Force Attacks:
- Attackers can attempt to guess SNMP community strings through brute force, especially if weak or default strings are used.
- SNMP Enumeration:
- Attackers can enumerate SNMP-enabled devices to gather information about network devices, including IP addresses, system information, and configurations.
- Buffer Overflow Attacks:
- Some SNMP implementations may have vulnerabilities that allow buffer overflow attacks, potentially leading to unauthorized control or denial of service.
- Man-in-the-Middle Attacks:
- Without encryption, SNMP traffic can be intercepted and altered by attackers, potentially leading to unauthorized actions on network devices.
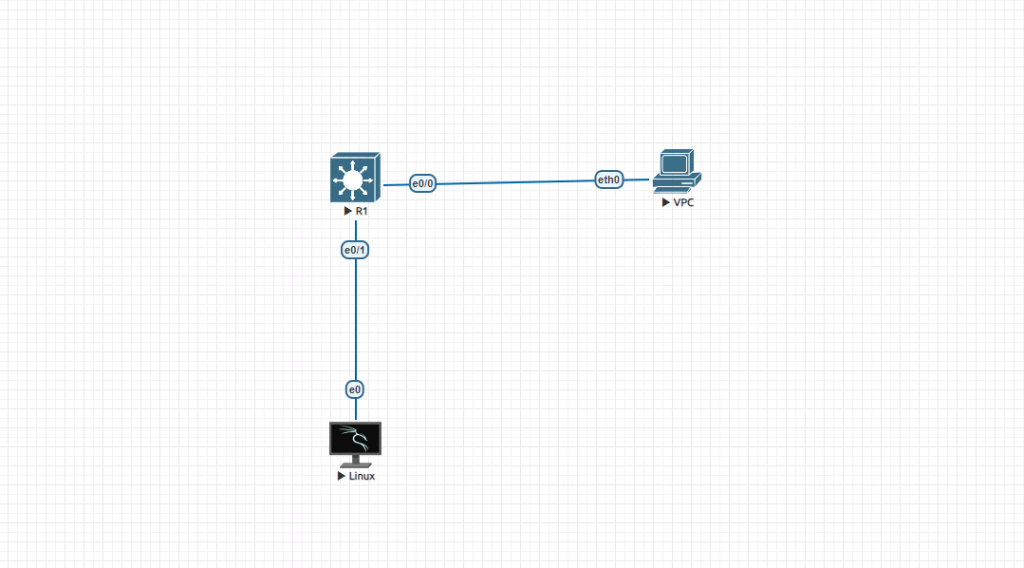
In this lab, we will use weakness of default SNMP community string which is mostly used as ‘public’. Using this string we will reach all the necessary information on the switch side using Kali OS, msfconsole vulnerability scanner tool. Lets start with switch configuration. Here below you can see the running-config on the Cisco switch.
Switch(config)#exit
Switch#sh
*Jul 28 20:31:15.918: %SYS-5-CONFIG_I: Configured from console by console
Switch#sh run
Building configuration...

Current configuration : 986 bytes
!
! Last configuration change at 20:31:15 UTC Sun Jul 28 2024
!
version 15.1
service timestamps debug datetime msec
service timestamps log datetime msec
no service password-encryption
service compress-config
!
hostname Switch
!
boot-start-marker
boot-end-marker
!
!
!
no aaa new-model
!
ip cef
!
!
no ipv6 cef
ipv6 multicast rpf use-bgp
!
!
!
!
!
!
!
spanning-tree mode pvst
spanning-tree extend system-id
!
!
!
!
vlan internal allocation policy ascending
!
!
!
!
!
!
!
!
!
!
interface Ethernet0/0
 switchport access vlan 20
 switchport mode access
 duplex auto
!
interface Ethernet0/1
 switchport access vlan 10
 switchport mode access
 duplex auto
!
interface Ethernet0/2
 duplex auto
!
interface Ethernet0/3
 duplex auto
!
interface Vlan10
 ip address 192.168.10.1 255.255.255.0
!
interface Vlan20
 ip address 192.168.20.1 255.255.255.0
!
!
no ip http server
!
!
!
!
snmp-server community public RO
!
control-plane
!
!
line con 0
 logging synchronous
line aux 0
line vty 0 4
!
end

Switch#
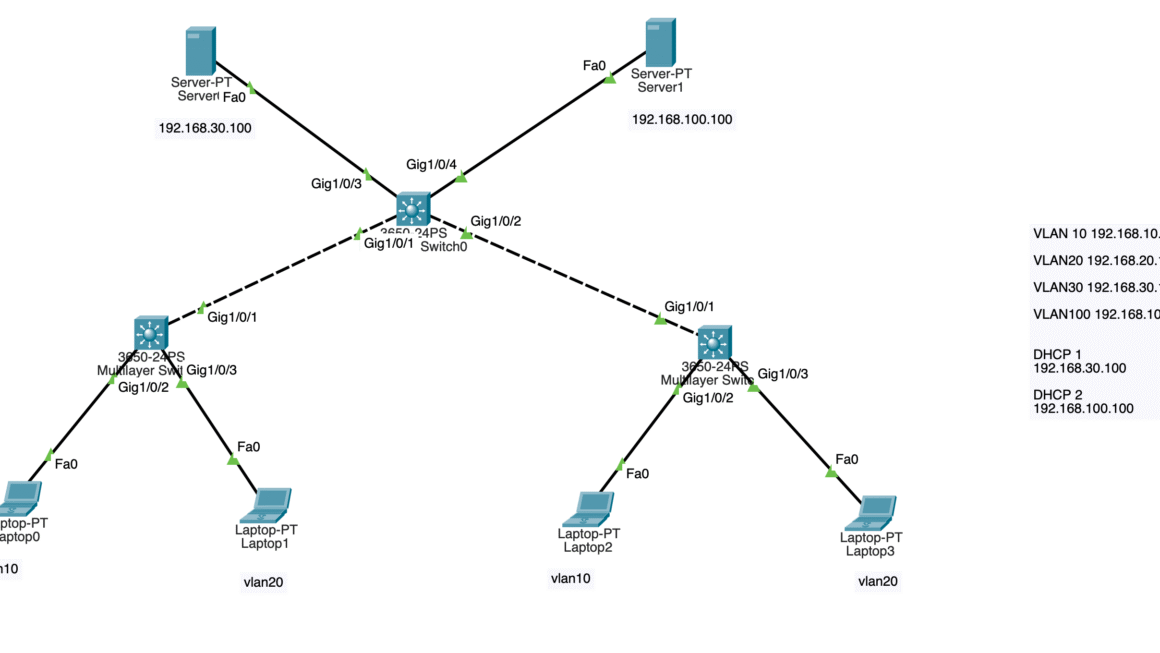
In this configuration, there are 2 VLANs and 2 access ports configured. We will use our VLAN’s SVI as target IP as 192.168.10.1/24 and our client has 192.168.10.10/24 IP. Now lets start attacking phase.
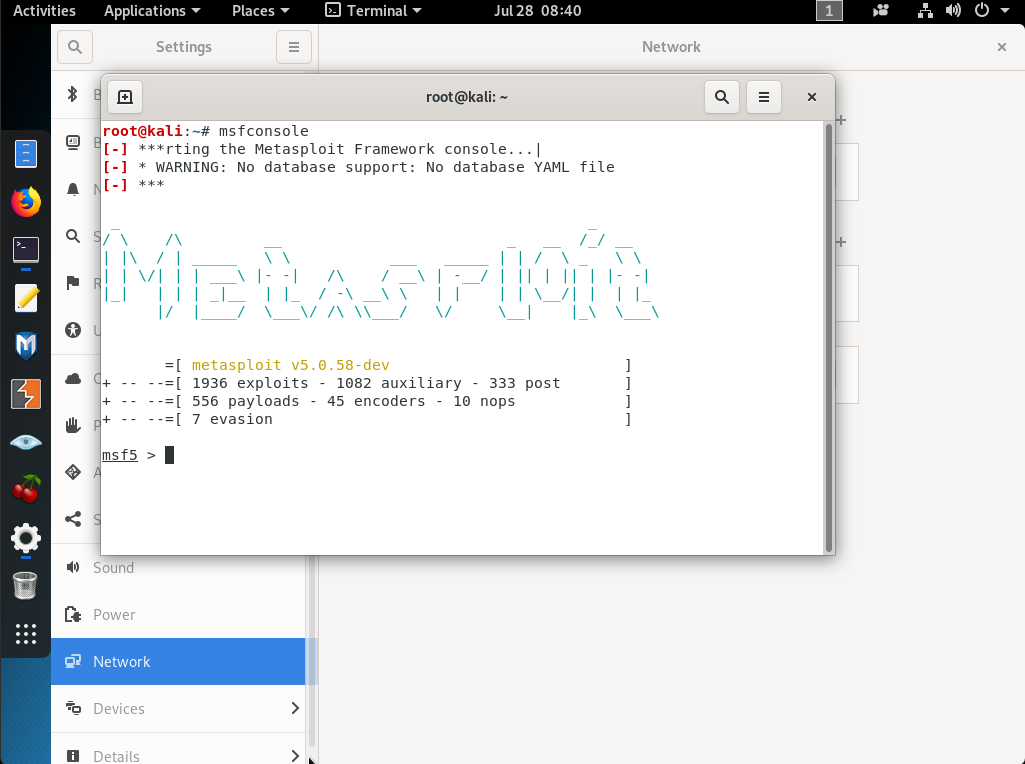
Launch MSFCONSOLE
Use this vulnerability scanner tool >> auxiliary/scanner/snmp/snmp_enum
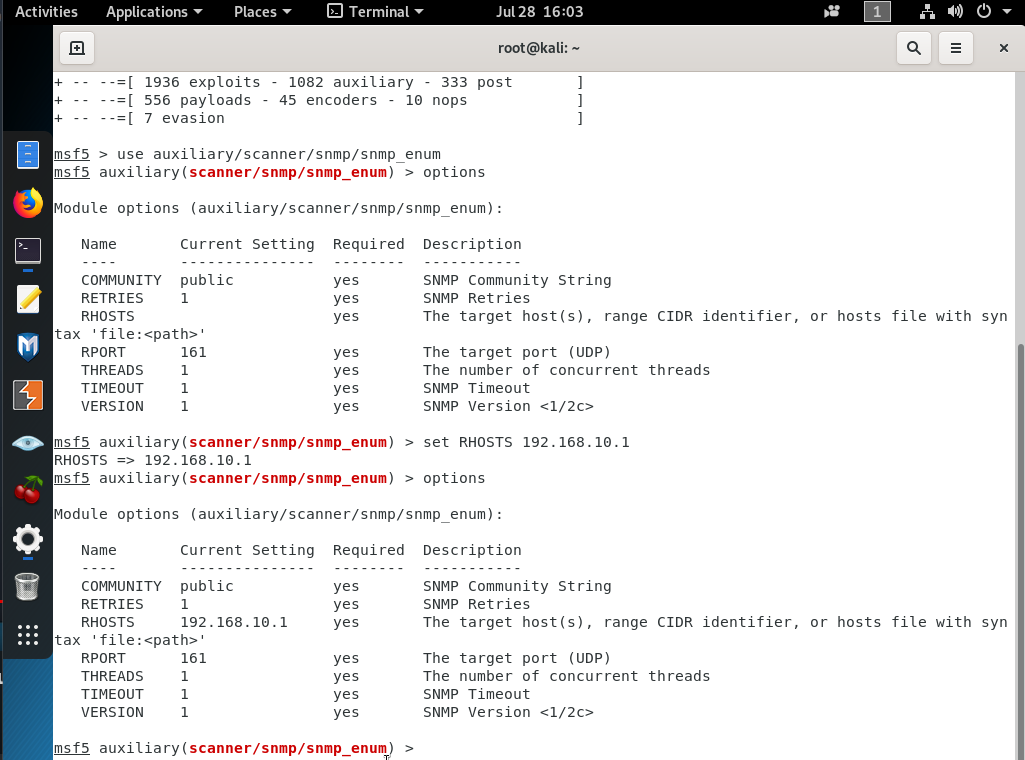
Type ‘options’ to see current settings
Then use ‘set’ keyword to set necessary parameters for the target like ‘set RHOSTS 192.168.10.10’ and like ‘set COMMUNITY public’. Then after setting all these parameters, type ‘run’ and hit enter. Afterwards, this tool will connect to the target switch and collect all SNMP v1 data and bring it on the screen as below.
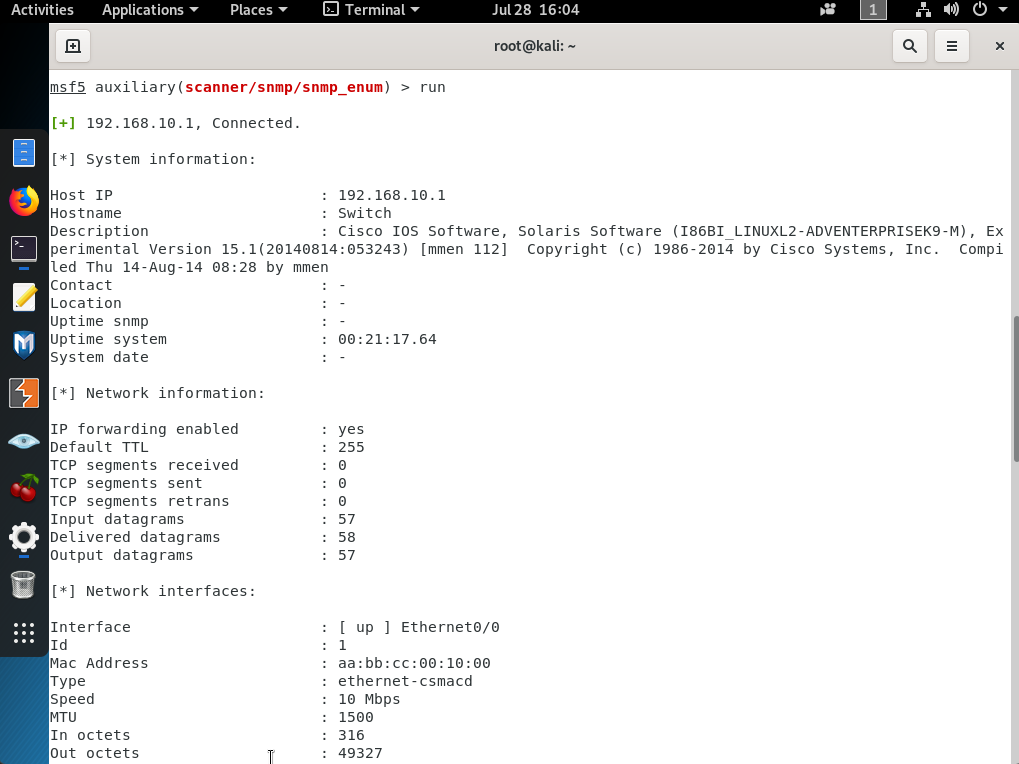
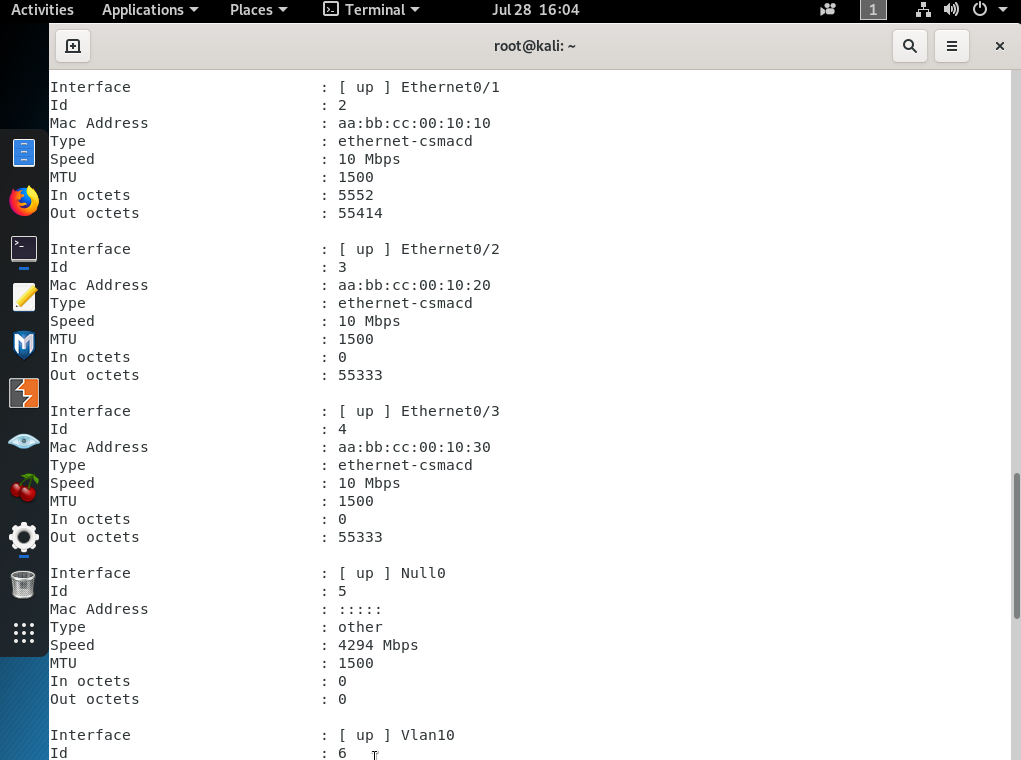

As you can easily see and understand, we reached all the VLAN SVIs, port configurations, switch information, open UDP ports, MAC addresses and assigned VLANs.
How to prevent this attack ?
1-) You may consider SNMPv3 which has more secure authentication method and cannot be easily breached.
2-) Never use default SNMP community string as ‘public’ which is shown in some internet blog tutorials. This is the root cause.
3-) If you really have to use SNMPv1, make sure that you choose a different string rather than ‘public’.
4-) If you are not using any SNMP based monitoring tool for your network devices, then simply shut down this protocol via using ‘no snmp-server’ to avoid this breach.
Another worse scenario ;
SNMP-SERVER community private RW !
We only accessed some configurations on the switch as Read-Only as the snmp server was set as ‘snmp-server community public ro’ but there is another case as read-write. Lets assume that there was also another string as ‘snmp-server community private rw‘ which will give us read-write access on the switch configurations. This is the most dangerous one and should be avoided by following above suggestions.
Please feel free to contact me if you need any assistance.
Happy networking 🙂